Crusty Sourdough Bread

The beauty of sourdough bread is that you only need a few simple ingredients. However, there’s more to it than that. Its science, patience, practice, and the beautiful labor of love. That is what make this so delicious. Once you make it homemade you’ll never go back to store-bought.
BAKING TIPS:
FEEDING YOUR STARTER
Once your starter is active, you can continue to feed it every day if you plan to bake bread, otherwise, you can store your starter in the fridge and feed it once a week. But, before baking with it, feed your starter 2-3 times to reactivate it.
If you forget to feed your starter or you go on vacation, don’t worry. Your starter will be ok in the fridge for a few weeks without being fed.
Feeding ratio; I like the 1 to 1 to 1 ratio (1:1:1). Meaning equal parts water, flour, and starter. Measuring with a scale in a separate clean jar. Make sure to zero out after every measurement.
KITCHEN SCALE VS CUP MEASUREMENT
I highly recommend using a kitchen scale. The flour and water measurements should be precise. You will find that using a kitchen scale is easier than measuring with a cup. I was intimidated by this but found out it was so much easier. MOST IMPORTANT: ZERO OUT THE SCALE Before adding your next ingredient.
BREAD STORAGE
Store in an airtight bag for up to 5 days. After a couple of days, I think sourdough bread tastes best toasted. If your bread becomes too hard you can turn it into breadcrumbs, or croutons. Garlic croutons are amazing!
You can also freeze your bread before it becomes hard. Place it into an airtight bag for up to 3 months. You can freeze the loaf whole or cut it into slices. Cutting it into slices before freezing makes it easy to take out a few slices at a time for toast or a sandwich.
BAKING SCHEDULE
How long does it take?
I typically like to make the dough in one day. I then refrigerate overnight and bake off first thing the next morning. So, a two-day process. Your times depend on how fast your starter rises. If it’s colder then it might take longer to rise. If that’s the case you might want to feed your starter as early as possible to give it enough time to rise.
Here is an example of my schedule:
Day 1
- 9 AM Feed sourdough starter.
- 1 PM If your starter looks ready, mix water, starter, flour, and salt. Cover for 1 hour.
- 2 PM First stretch and fold. Cover and let rest for 30 minutes. Repeat three times.
- 2:30 PM Second stretch and fold. Cover and let rest 30 minutes.
- 3:00 PM Third stretch and fold. Cover.
- 3 PM Bulk ferment at room temperature 2-3 hours.
- 5-6 PM Final shape. Cover with plastic and let rest for 30 minutes.
- 6-7 PM Place in fridge to cold ferment until ready to bake.
Day 2
- 8 AM Score and bake.
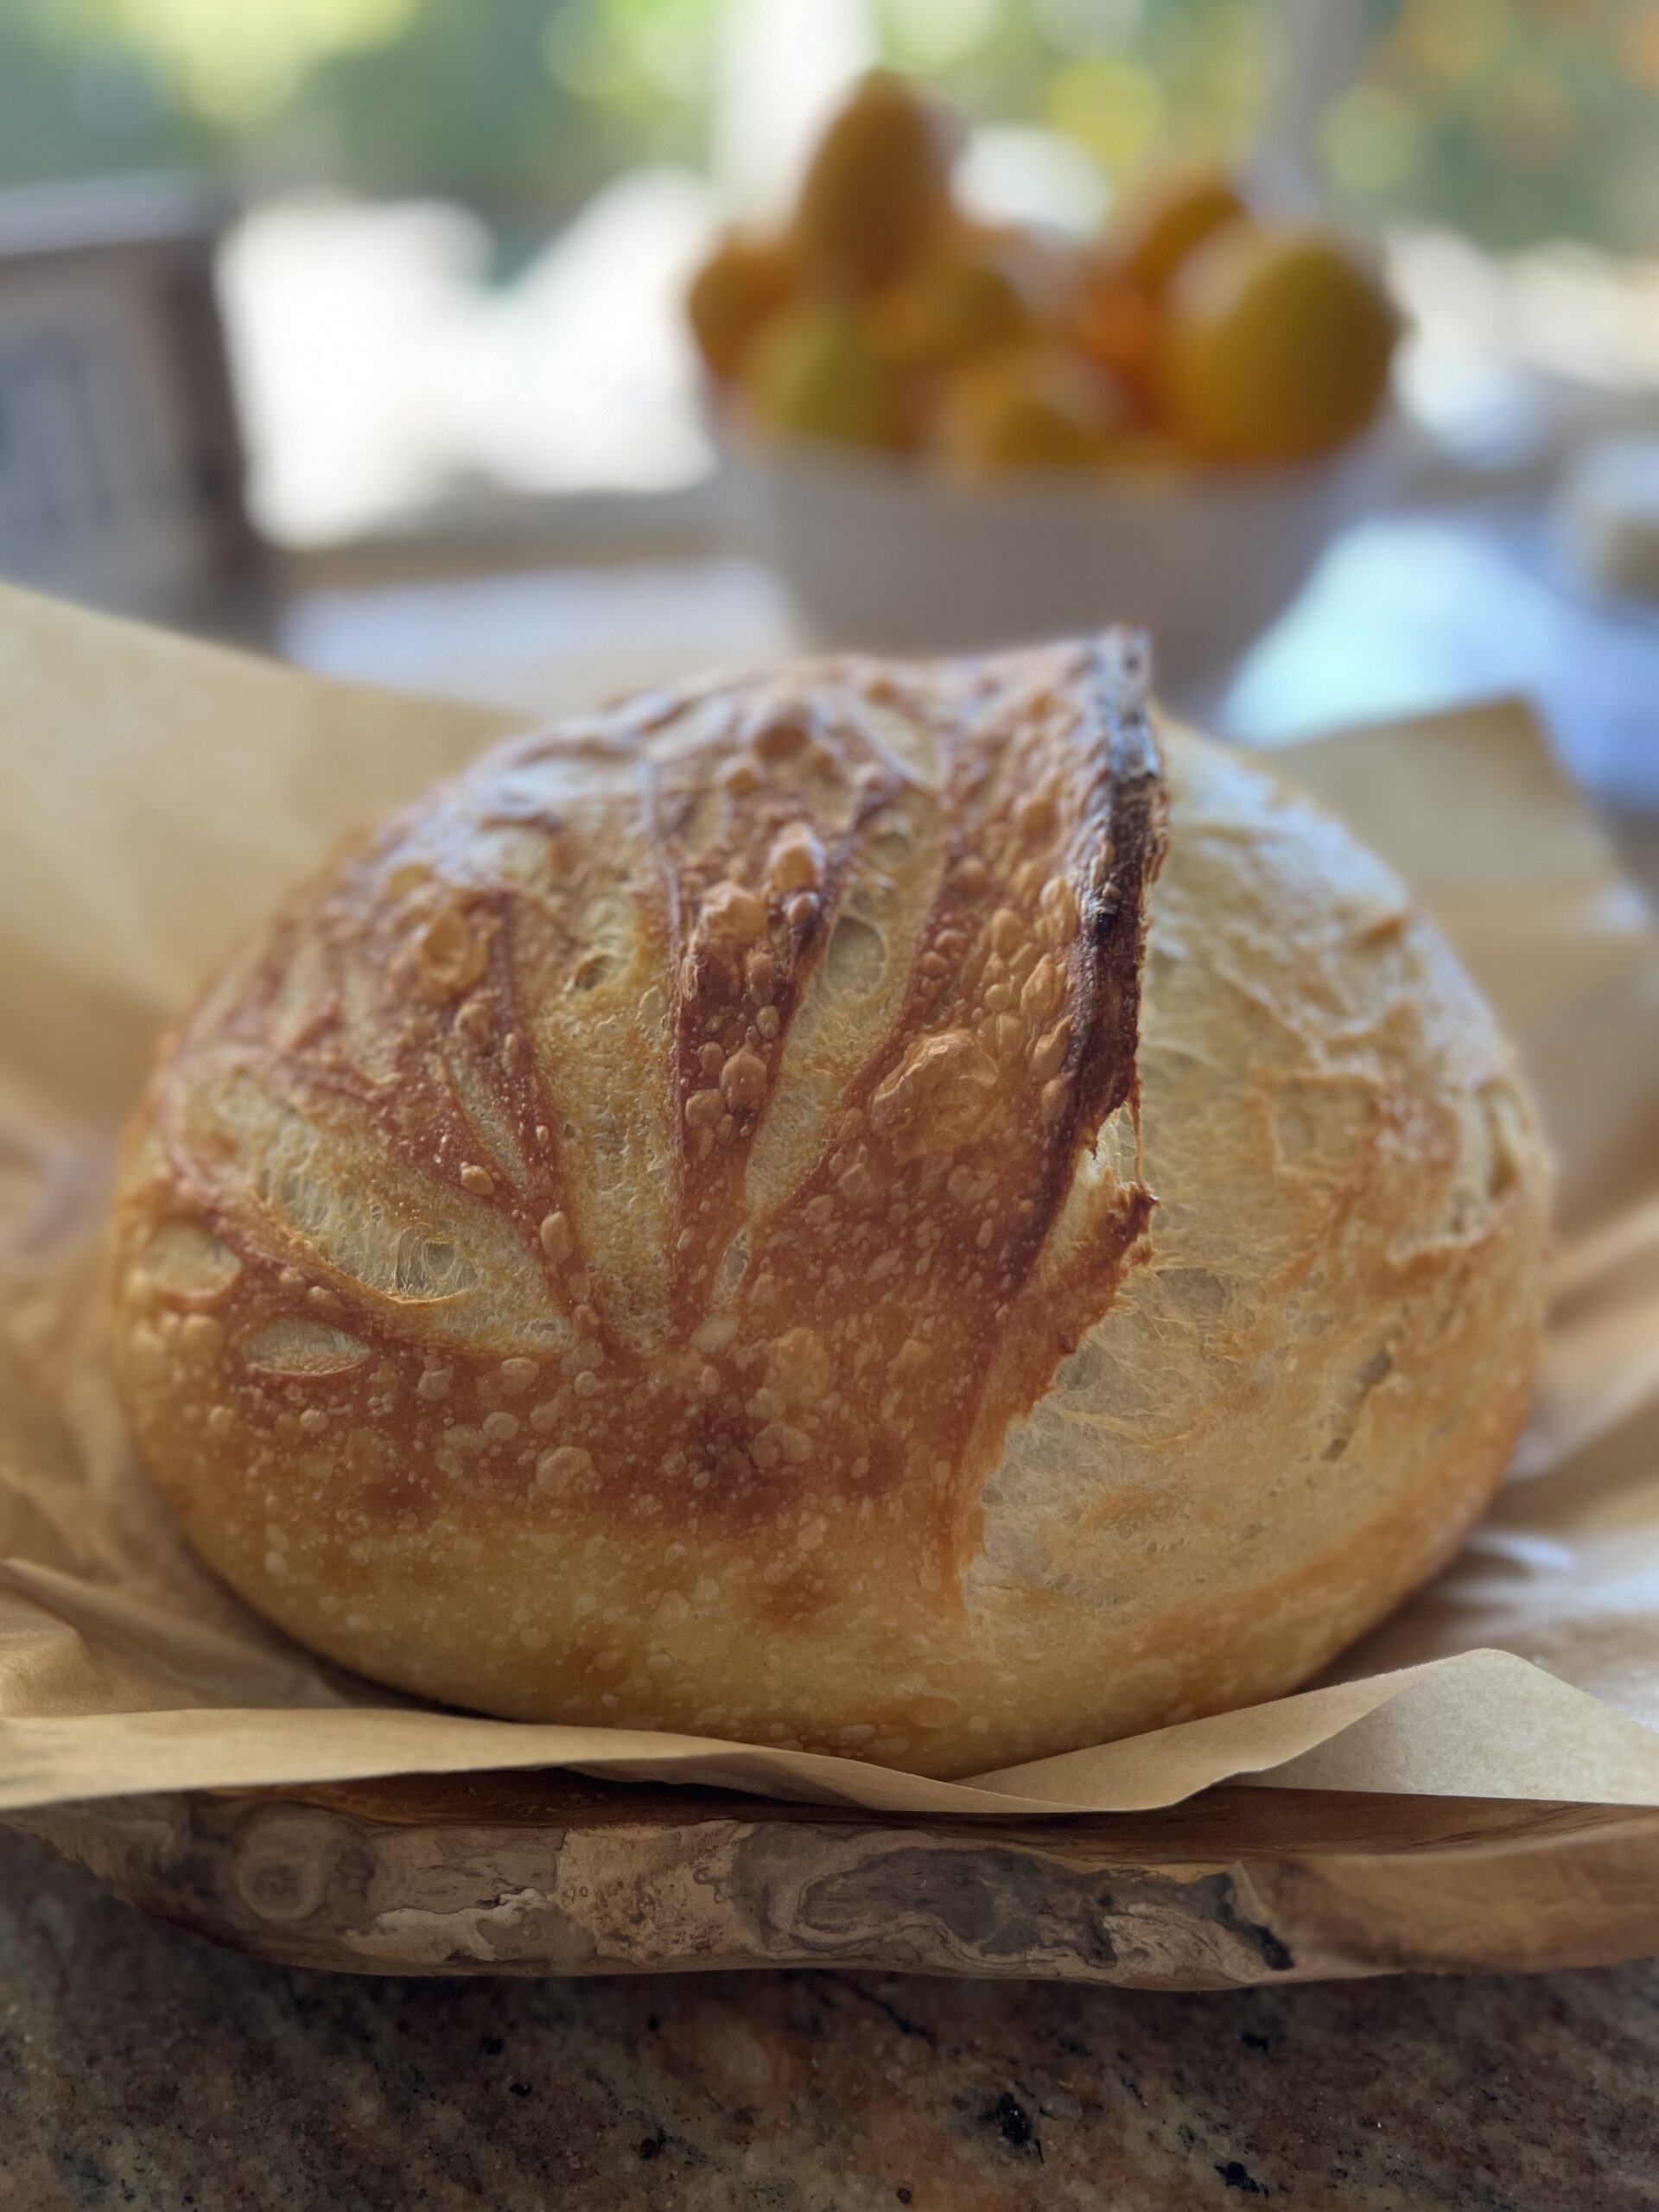
WHAT IS SOURDOUGH CRUMB?
Sourdough crumb is the inside texture. It should have an even consistency, meaning there won’t be any dense areas with giant holes. It should be light and fluffy – not wet or gummy. The holes inside the sourdough may seem shiny. This is a sign that the gluten is very well developed.
Open crumb is generally more sought after than closed crumb when it comes to sourdough. Although closed crumb will make a great loaf for sandwiches.
WHAT ARE INCLUSIONS?
Inclusions are what ingredients you add to your dough. It can be savory or sweet. There are lots of different ingredients you can add. Here are a few delicious ideas.
•Rosemary, roasted garlic and parmesan
•Jalapeño and cheddar
•Caramelized Onions and Cheese
•Lemon Blueberry
•Milk Chocolate Chips
•Kalamata Olive
•Roasted Garlic, parmesan, red pepper flakes, salt, pepper
TESTING YOUR STARTER
I like to start by dropping a small amount of starter in a cup of water to see if it floats. If it floats, it is good to go.
SHOPPING LINKS
I linked my Amazon store below for helpful baking products. Everything is listed under baking goods.
Crusty Sourdough Bread
Ingredients
- 1 1/2 cups or (350 grams) room temperature filtered water
- 1/2 cup or (100 grams) active sourdough starter
- 3 cups or (500 grams) organic unbleached bread flour
- 2 teaspoons salt
Instructions
STEP 1: FEED YOUR STARTER
- Feed your sourdough starter, and let rise at room temperature on the counter until doubled in size, about 4-6 hours.
STEP 2: PREPARE THE DOUGH
- In a large mixing bowl, whisk together the water and active sourdough starter. You can use a dough whisk or a spatula.Next, add the bread flour, and sea salt to your water starter mix.Mix everything well until you get a shaggy-dough ball. Next, knead your dough for 4-6 minutes until everything is nice and smoothLet your dough rest for about an hour and a half in a nice warm area on your counter.
STEP 3: STRETCH AND FOLD
- Damp in your hands grab part of the dough stretch it upward without tearing and fold it into its center. Give the ball a quarter turn and repeat this three more times until all sides of the dough have been stretched and folded into the center. Cover your dough with your damp towel and repeat this step every 30 minutes for a total of three stretching folds. With each set, your dough will have more strength. This will help with gluten development.
STEP 4: BULK FERMENTATION (FIRST RISE)
- Leave your dough for approximately 4 to 8 hours on your kitchen counter. If your kitchen is warmer, start checking it after 3-4 hours to make sure it doesn't over-proof.
STEP 5: SHAPE AND SECOND RISE
- Gently turn the dough out onto a lightly floured surface. Sometimes your dough might be a little sticky, so let gravity help, while lightly loosening from the edges. Shape the dough by stretching it into a rectangle then folding the left side over to the middle then repeat on the right side. Start rolling your dough up from the bottom. Next, you will form a ball by cupping, rolling, and pulling to create a nice smooth ball. Transfer your dough seam side up, and smooth side down into a well-flowered Beniton-proofing basket. Cover with a tea towel and let it sit on the counter for two hours depending on how cold your kitchen is. It might need more time to fermentate. After fermentation move to the fridge overnight keeping it covered. I cover my dough with plastic wrap that is pressed nicely against all edges of the ball, or you can use a shower cap. Let this rest in your fridge overnight.
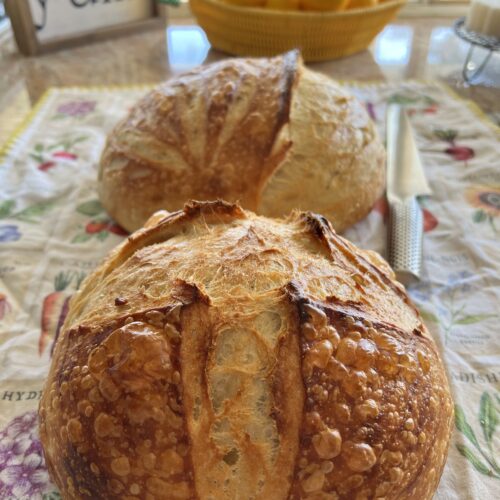
STEP 6: TIME TO BAKE
- Preheat your oven to 450° leave your Dutch oven inside and let it preheat for about 15- 30 minutes.Turn your dough ball on a piece of parchment paper. Dust it lightly with all-purpose flour and smooth the flour out with your hand or brush. Next, you’re going to score your dough. This is when you can create a design with your bread lame. There are so many really cute ways to design your sourdough bread. Pinterest has lots of ideas. For an easier score, you can create a cross shape on the top or a half-moon crescent along the side. Make sure to carefully take out your Dutch oven using oven mitts. Place your dough ball with the parchment paper inside and add an ice cube to the outside of the parchment paper. Close the lid and bake for 30 minutes. After 30 minutes remove the lid and bake for another 15 minutes until your bread has a beautiful golden brown color.Remove your bread and Let it cool before slicing. Please wait at least 1 hour before slicing it into a freshly baked sourdough loaf. Slicing into a warm loaf will cause the bread to become dense and gummy. If you wait until the bread cools before slicing, it will be light and fluffy. Trust me, it's worth the wait!